I have one at the local makerspace. For the wood we run on it it works. I don’t think ours is rigid enough for aluminum.
Velox has great technical support and they will often get back to you after listed business hours.
I know 987 hsa a 3x3 or 4x4 or so ShopBot that they love.
reach out to JB987 for more.
Pretty sure our router, which was a 4x8 but we modified it down to a 4x4, is a shopbot. We’ve upgraded the spindle and are currently upgrading the Z-axis but we’ve never had any issue cutting on .08-.125 sheet aluminum and we do all our tubing on it as well.
I’ve got a Shopbot in my classroom. We’ve been happy with its performance as well as the technical support. With the 2.2HP spindle on a PRSAlpha (and a bit of patience for shallow passes), we’ve cut out 1/8" and 1/4" aluminum with no issues, in addition to the wood and plastic we mostly use it for.
awesome…thank you all for your input!
One last question about the Velox
For owners of the Velox, how to the ball screws hold up over time?
I’m concerned about wood dust getting in the screws and having to maintain that (it’ll be in a woodshop, but plan to cover it, but I still plan to use it for wood a little).
I am also concerned about backlash developing on the axis over time…are the steppers direct to the screws or is there gearing and such that might loosen up over time?
Velox uses Acme screws with backlash compensating nuts and they are well shielded against contaminants. The steppers are directly mounted to the screw. As long as you keep them oiled they will last a very long time.
Anyone have an experience with the more industrial style 4x8 or even 5x10 routers with real spindles and tool changing ability? Like, Laguna, or CAMaster, or others?
We have a 4X4 Laguna at Sonos w/ a tool changer. It’s a total workhorse for us. I’d highly recommend it if you can stretch to that ~20+k range.
-Brando
Can you provide some details about the control interface? I’ve used Haas, Techno, and Tormach PathPilot. All will easily take in G code, allow you to set work offsets, and give a nice graphical preview. Does the Laguna do that? The details I’ve found about the Laguna’s control interface have been kind of minimal. I want to see what it’s like to actually use one.
I found you can do it in HSMWorks with a little bit of work. Basically, make an additional sketch in your part and convert the convert the bottom contour then use “split entities” to create sketch geometry. You can then do a 2D contour to ~.030 above the bottom, then do another 2D contour where you select non-construction segments from the sketch you just drew. See the assembly in the attachment (fair warning: don’t follow my advice on machining stuff. Most everything I just accepted defaults because I’m just learning the software and wanted to generate toolpaths).
For what it’s worth, here is the generated stock simulation: https://imgur.com/99yYyNx
EDIT: Just realized Cory described doing pretty much this
Gusset Assy.zip (363 KB)
I can’t speak to fancy industrial Lagunas like Brandon was talking about but we have this one in our shop. The control interface on the machine itself is incredibly minimal which makes it both excellent and a little annoying at the same time. Setting work offsets is a breeze; jog the spindle to where you want it, hit a button and you’re done. Our’s takes G-Code from our CAM program (V-Carve) on a flash drive, find the program you want and hit go. But that is pretty much the end of the interface functionality, you can’t preview the cut on-screen or any of that fancy stuff, so a dry run becomes even more important.
So to summarize, the interface is about as minimal as it can get, which makes the machine incredibly easy to use, but slightly limits what it’s capable of.
Hope that helps.
-Thayer-
So VeloxCNC is running a Black Friday sale of 10% off(not sure if it stacks with the 5% educational discount) 11/17 - 11/24.
Totally agree with building your own table --we went very basic with ours and everything works out well --although we’ll probably build a nicer one like you guys have!
Although, we’ve had issues figuring out HSM Works and post processing on it. We started using Vectric 2D Pro that came with the VR5050 and it’s pretty sweet!
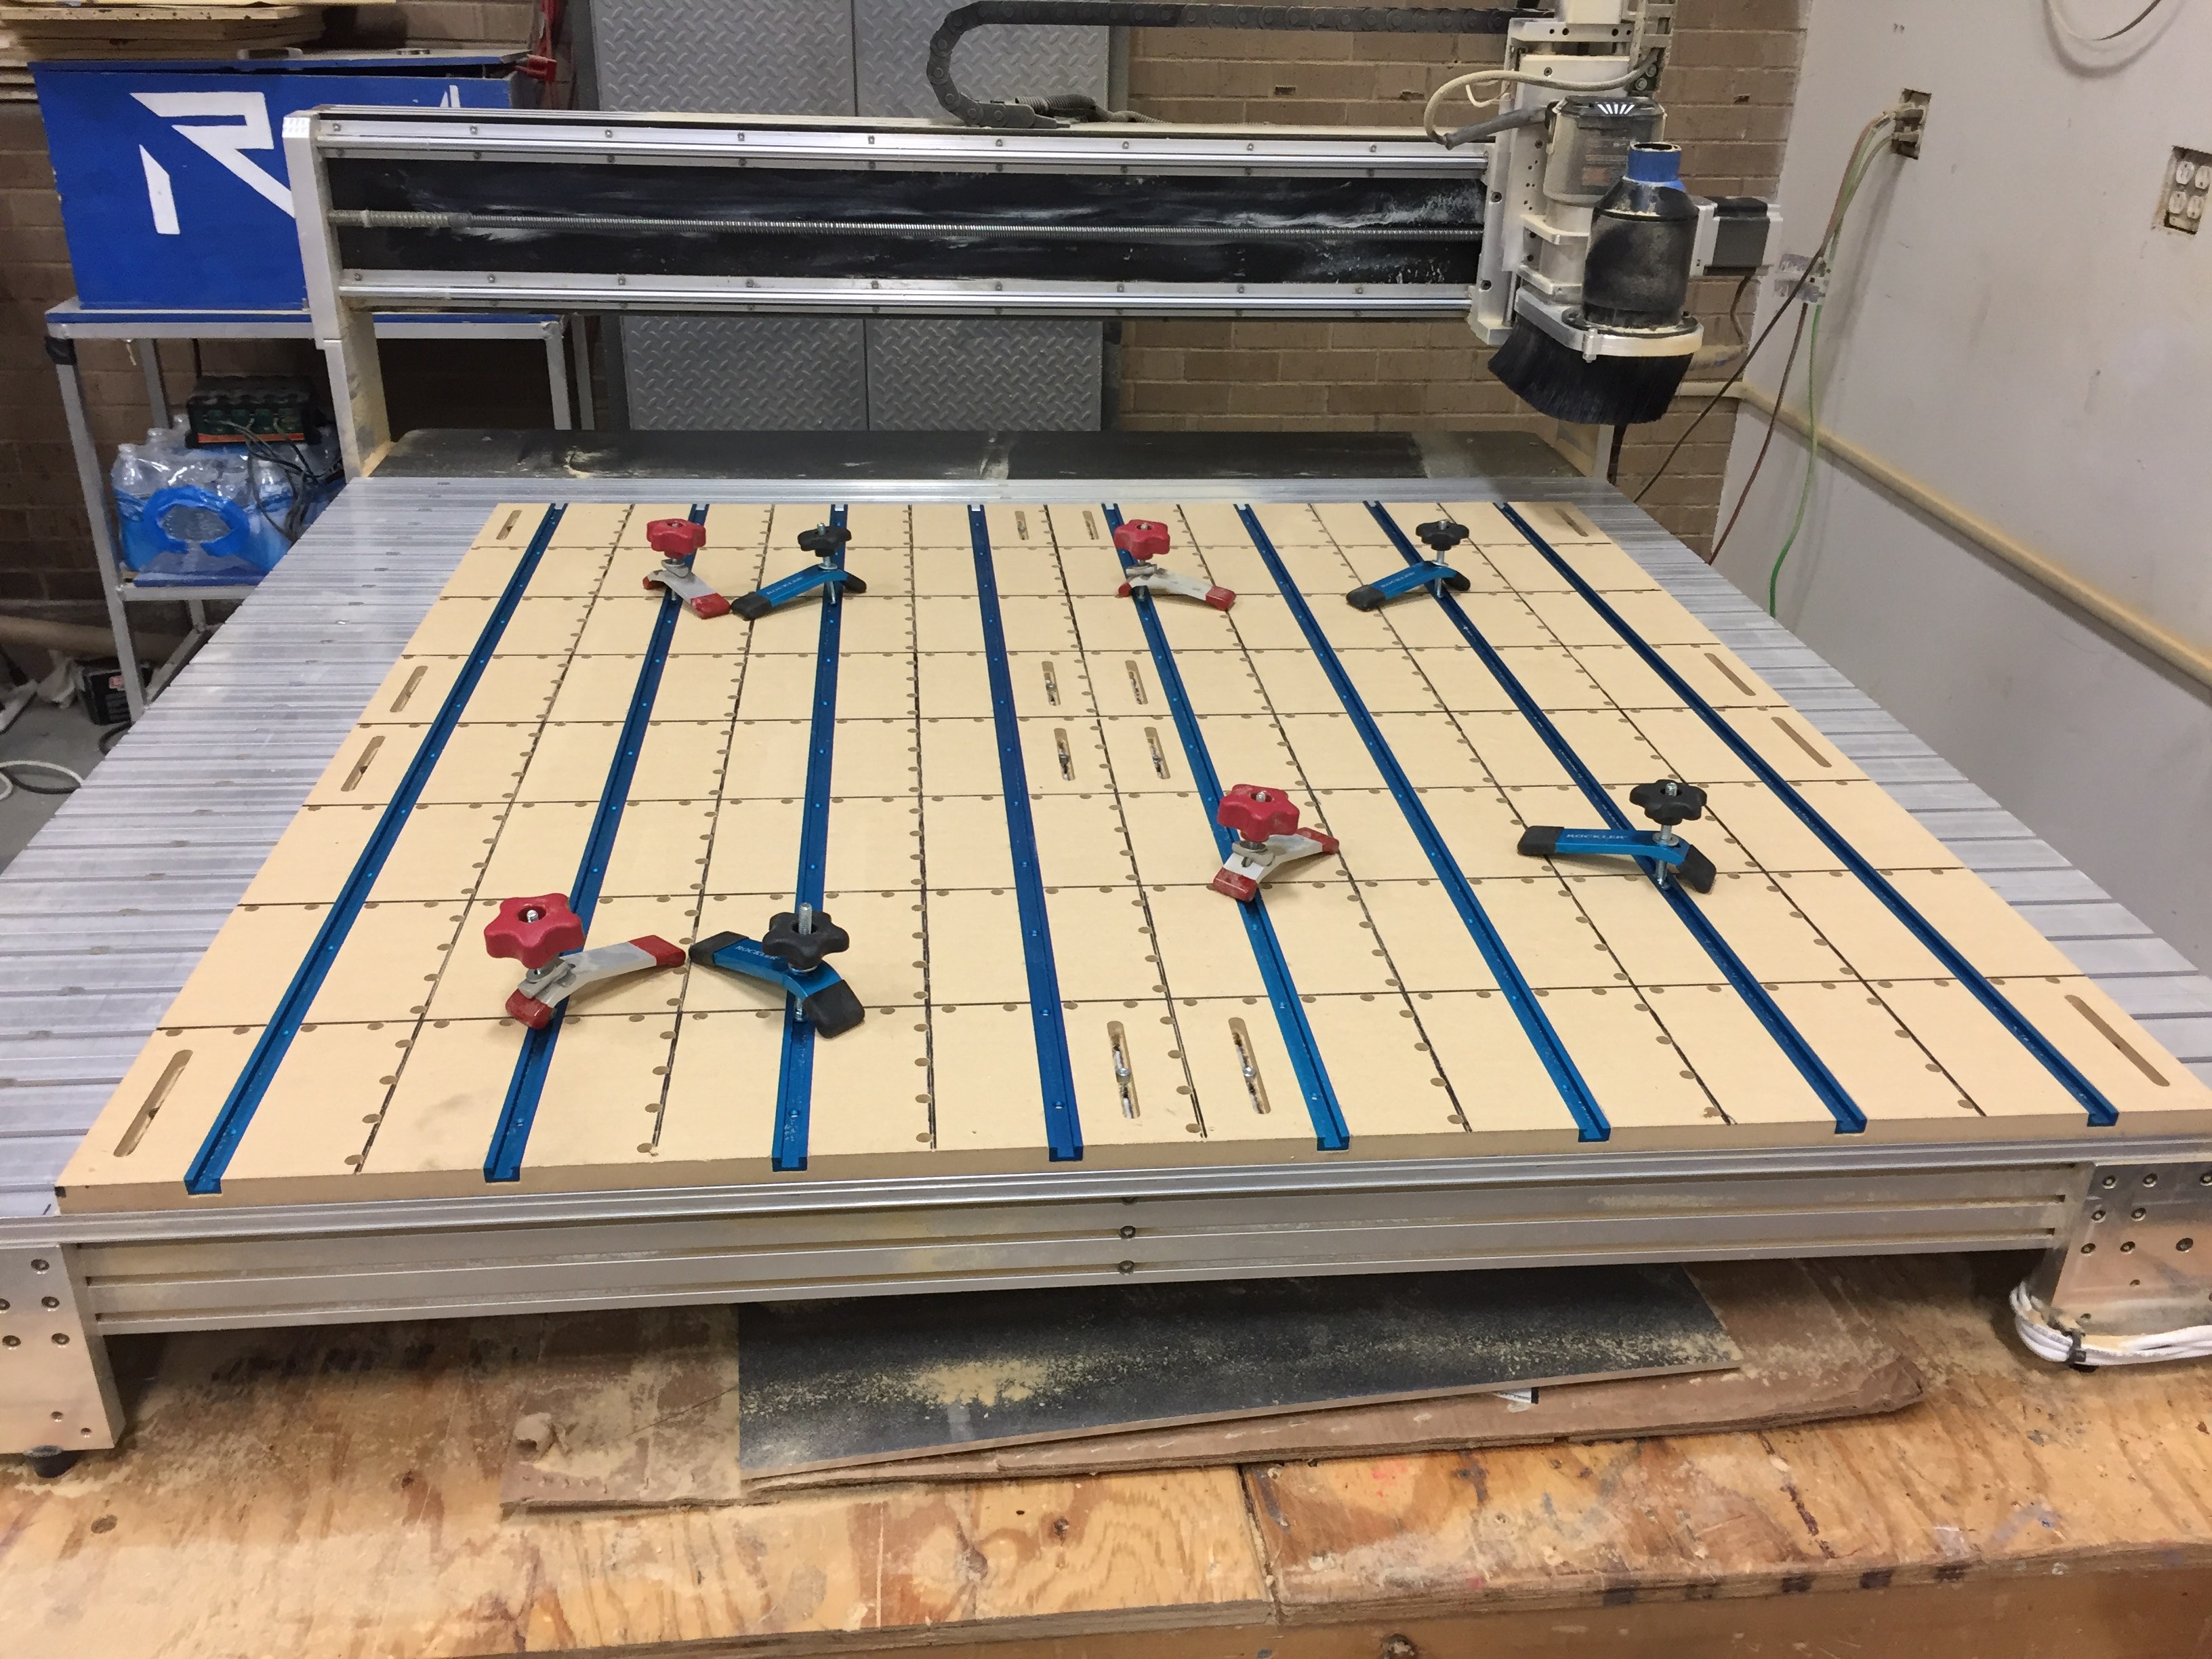
We spent quite a bit of time working on the spoil board so we could setup offsets for different part setups:
We’ll be adding a series of vises like 1678 has before build season.
I have a general questions about feeds and speeds if anyone would be kind enough to help. I am getting a better grasp on the different factors that go into calculating chip load, but some of the result I have seen are confusing.
Our setup is a ShopBot Desktop MAX with 1 HP Spindle, using VCarve Pro. VCarve has presets for feeds and speeds which have worked very well. Using a carbide 1/8" Straight single flute cutter in aluminum it recommends 17,000 RPM and 2 IPS which produced pretty reasonable results (though a finishing pass was required for good surface finish). This would produce a 0.007" chipload which seemed a little high, but within reason.
Switching to a 2 flute 3mm cutter (HSS, and really cheap) I figured that, if we were keeping our speed constant, we would want to roughly double our feed to maintain a similar chipload (which I verified in a chipload calculator). We first tried 17,000 RPM and 3 IPS and got pretty terrible results:

Now I’m not really experienced enough to tell what exactly causing this kind of badness. At the suggestion of someone else, we dropped the feed down to 0.5 IPS and saw better results:

Still some ugly jaggies but that may be because of the low quality bit. At 0.5 IPS we should be getting around 0.0008" chip load which seems way too small. Video of the cut. The finish is still pretty crap, though I’m not sure what to tweak to improve that, or if it is just caused by using the type of bit that we did.
For the future we plan to use nothing but carbide single flute upcut bits on aluminum for production parts, but I would love some advice on what I missed when calculating the feed and speed for this 2 flute cutter.
Questions:
- How should I be calculating feeds and speeds if not the way I did above? Or, why did my calculated feed of 3 IPS produce such bad results.
- In the video above, what do the jagged edges indicate? Do I just need to experiment more or is it possible to identify issues based on the visual look of the cut?
- Is it possible to tell how much of these issues were caused by the quality of the bit? The 3mm one was a cheapo from china, and HSS rather than Carbide.
- All of these cuts were done dry, with occasional blasts of compressed air to help clear chips and vaguely cool. Would a constant air blast or mist of coolant help improve cut quality?
I’m not an expert, but with a 2 flute compared to a spiral or straight single flute tool, you struggle with chip evacuation. For small diameter cutters, it’s even worse. Even though you have the horsepower, there’s just nowhere for the chips to go. Then, once you start going super slow, the cutter starts rubbing.
299 runs their router at around 20IPM and a 0.06" DOC on a 3/16" solid carbide single-flute endmill. I have never gotten very good results with a 2-flute endmill compared with a single-flute.
A 3mm Chinese generic 2-flute cutter will get you very poor results. Using a 4mm WCP endmill or a 1/8" or 3/16" Onsrud upcut O-flute bit will be much more effective.
A chipload of 0.001" is typical for these machines. I know heavier routers can push that up, but 0.0005" to 0.002" is normal. 2IPS (60IPM) on a single flute cutter at 17k rpm yields a chipload of 0.004" by my calculations. Chances are you can push the depth of cut farther and feed slower. Another thing is that if you don’t have ballscrews (your machine has backlash) then conventional milling until the final pass can help the finish too.
HSS is not designed for high surface speeds. OP is at ~500 SFM with his 3mm cutter at 17k rpm. Recommended SFM for HSS on 6061 is in the range of 250. Stick with carbide, as well as single flute so that you can achieve a reasonable chipload.
120 IPM. 60 seconds in a minute, not 30 ![]() .007" chipload.
.007" chipload.
So with these routers going with a smaller than recommended chipload can be okay? At least from reading CD it seems like trying to hit the recommended chipload is the way to go when on routers.
Chances are you can push the depth of cut farther and feed slower. Another thing is that if you don’t have ballscrews (your machine has backlash) then conventional milling until the final pass can help the finish too.
Yeah we haven’t tried increasing depth passed the default .010. Might try that eventually. The ShopBot does have ballscrews though I’ve been doing a finishing pass for things that require accuracy anyway.
That info is a big help, thanks. Once our WCP cutters come in we’ll be able to dial everything in properly. At $0.80 per bit we’ll probably keep the HSS ones around for CAM training and other abuse.